Priceless Practice
- 72d3022a-75ef-4f89-bcfd-494feeb75fc5
- Sep 22, 2019
- 3 min read

The Dream Big panels by Hoffman Fabrics are very popular in the long arm quilting world right now. Most of the panels measure 45” square and come in many different colors. The petals on the digitally printed flower provide a multitude of opportunities for a variety of quilting designs. What more could any quilter ask for?
One evening while perusing Pinterest I came upon a photo of a Dream Big panel used as a table topper for a wedding cake. As luck would have it I just happen to have a daughter getting married this fall and she agreed that a Dream Big quilt in purple would be fun to use at the reception. Yeah!! Now I had an excuse to try my skills on this gorgeous panel.

As per usual I spent some time looking at Pinterest, Instagram, and YouTube for ideas and inspiration on just how to handle this project. I discovered which battings and feet to use as well as quilting designs to try. One of the best decisions I made was to do a practice panel before I attempted the quilt for the wedding. I learned so many dos and don’ts and could just play without having to worry about everything being just right.

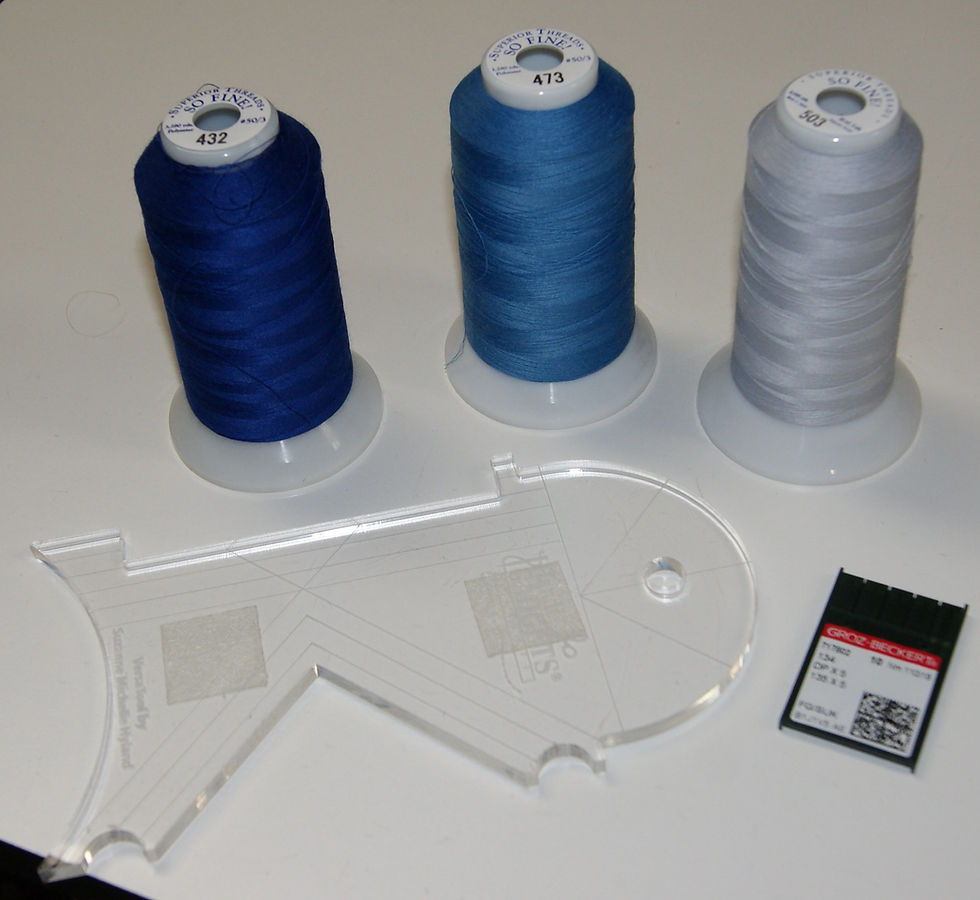
One of the most important things that I learned was to outline each petal in the entire panel first. I was pleased with the three shades of So Fine #50 thread that I used. I also found that using my Versa-Tool ruler helped immensely in guiding my machine around the petals. Although I tried both the Glide foot and open-toed foot I found that my usual closed-toed foot worked just fine - especially with my rulers. I also learned that a ballpoint needle works better on the digitally printed designs as I noticed the darker colors showing white where the regular needle was stitching.

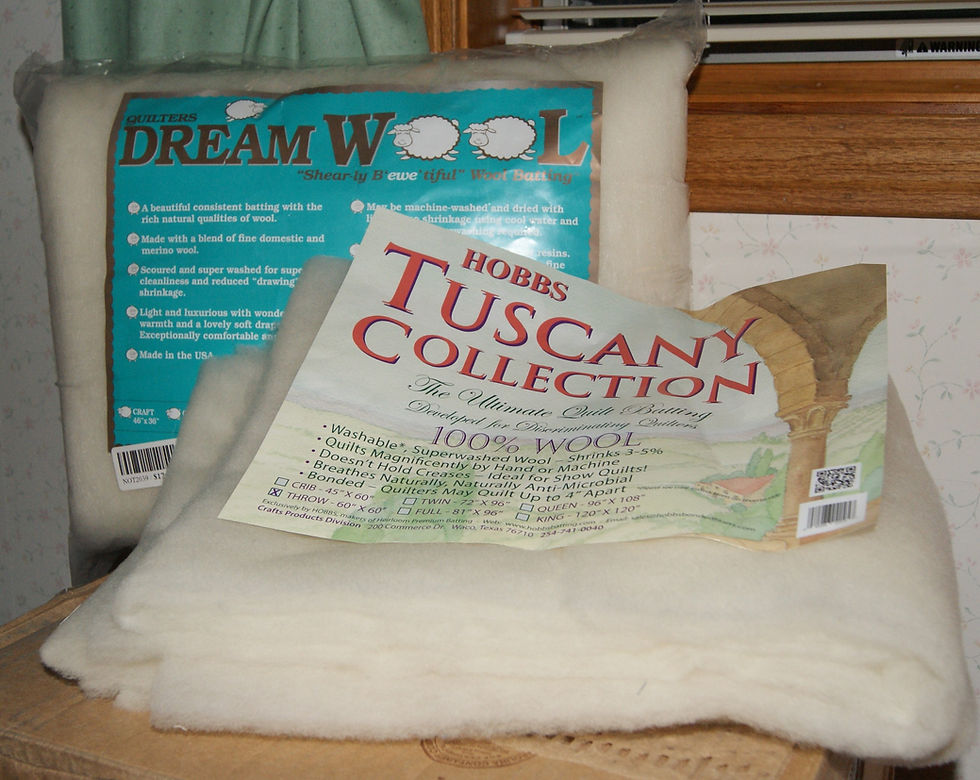
Once all of the petal outlining is complete the real fun begins! I tried about 21 different designs in the petals, five different designs in the outlining of the petals, and three in the background along the edges. I really liked the matchstick quilting that I did in the background as it provides an interesting texture as well as looking like it radiates to the outside. While outlining the petals I found that I preferred to add just one echo about 1/4” on the inside to give more focus to the designs within the petals. Of the petal designs there were only a couple that I didn’t care for. Because I used two battings - Warm and Natural on the bottom and a wool batting on the top - the designs that were less dense made the non-quilted sections really pop. On the other hand, using a few designs that were more dense added an interesting texture to the overall look of the quilt.

Since this is more of an art quilt I decided to try a facing for the binding rather than the more traditional type that shows around the edge of the quilt. I googled “facing binding for quilts” and found a tutorial by Robbi Joy Ecklow on weallsew.com. She is an art quilter from Omaha who has a studio at The Hot Shops in downtown Omaha. I met her this summer when we toured this venue as part of the Nebraska Passport. The tutorial is easy to follow and the result was just what I had hoped for.

Although not something that I usually do I’m so glad that I took the time to practice on this panel. Now I will have to decide which designs to use on the wedding quilt. Do I choose just a few or use a lot of different ones? I can’t wait to get started! And I have another one in teal colors just waiting to be done at a later date just for me.


Comments